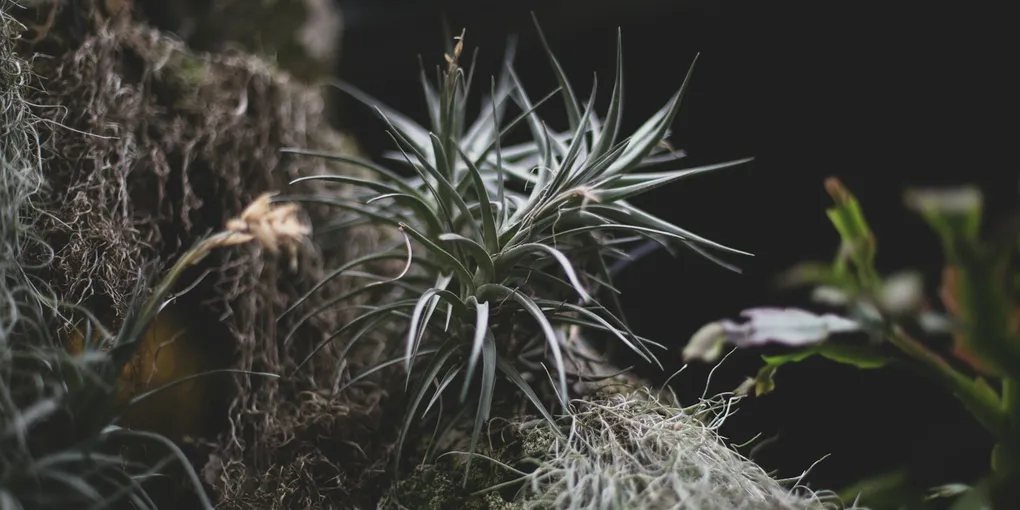
How to Care for Air Plants (Tillandsia)
Air plants (Tillandsia) throw out every rule you’ve learned from potted houseplants. There’s no soil, no pot, and no drainage hole to worry about. In the wild, they’re epiphytes that grow on tree branches and rocks, pulling water and nutrients from the air and rain through their leaves instead of through roots in a growing medium. If you’re used to checking soil moisture with a finger the way you would for a pothos or a snake plant, forget that instinct entirely — air plant care runs on a completely different system, and treating one like a normal houseplant is the fastest way to lose it.
Light
Bright, indirect light is what air plants want — near an east- or west-facing window, or a few feet back from a south-facing one. Direct sun through glass for more than an hour or two can scorch the leaves, especially on the softer, silvery-leafed species. If you only have low-light spots available, an air plant will survive longer there than most flowering plants would, but growth stalls and color fades. A spot with good natural light or a few hours under a grow light each day keeps them healthiest — see do you need a grow light for houseplants if natural light is limited in your space.
Watering: the soak method
This is the single biggest difference from every other plant on this site, so it’s worth spelling out in full.
Soak the whole plant in room-temperature water for 20-30 minutes, one to two times a week. Submerge it completely — tank, bowl, or sink all work. Tap water is fine in most areas; if your water is heavily chlorinated or softened, let it sit out overnight first or use filtered water.
After soaking, shake off the excess water and set the plant upside down on a towel to dry, ideally somewhere with decent airflow. This step is not optional — it’s the difference between a thriving air plant and a rotted one. Leaving water trapped in the base or the crevices between leaves for hours is what kills them, not underwatering.
In dry indoor air, especially with heating or air conditioning running, mist the plant lightly between soaks two or three times a week to keep the leaves from drying out. If your home runs very dry, soak a little more often instead of relying on misting alone. If you already run a humidifier for other houseplants, an air plant will benefit from that too — see how to increase humidity for houseplants for general approaches.
You’ll know an air plant is thirsty when the leaves start to curl inward or feel noticeably lighter and papery. A well-hydrated plant has leaves with some flex and weight to them.
No soil needed — how to display one
Air plants don’t need, and shouldn’t be planted in, soil or any growing medium. Burying the base traps moisture against the plant and encourages rot, and the roots (when present) are mainly there for gripping a surface, not for feeding. Instead, display them:
- Resting loose in an open bowl, shell, or shallow dish
- Mounted on driftwood, cork bark, or a piece of rock with a dab of non-toxic glue or a thin wire wrap (never fully encase the base)
- In a hanging glass globe or terrarium-style holder, as long as it’s open enough for airflow and you take the plant out to soak rather than watering it in place
Whatever display you choose, the plant needs to be removable for its soak and needs airflow around it afterward. A sealed glass container with no ventilation is one of the more common ways people accidentally cook or rot an air plant.
Getting it to bloom and produce pups
A mature air plant will eventually bloom once, typically after a year or more of good care, producing a single flower spike in shades of pink, purple, red, or orange depending on the species. Consistent bright light and a regular soaking routine are what push a plant toward blooming — inconsistent watering or too little light can delay it indefinitely.
After blooming, the mother plant puts its remaining energy into producing “pups” — small offset clones that grow at its base — and then slowly declines over the following months. This is normal, not a sign you’re doing something wrong. Let the pups stay attached until they’re about a third to half the size of the parent, then gently twist or cut them free to grow as independent plants. You can also leave a cluster of pups attached to the parent to form a multi-headed clump over time.
Toxicity
Air plants are non-toxic to cats and dogs, which makes them one of the safer options for homes with curious pets — see pet-safe houseplants for cats and dogs for other low-risk picks if you’re building out a pet-friendly plant collection.
Common problems
Rot is the number one killer of air plants, and it almost always comes from water sitting trapped at the base after soaking rather than from overwatering itself. A rotting plant develops a dark, mushy, often foul-smelling center and the inner leaves pull out easily when tugged. There’s usually no saving a plant once rot reaches the core — prevention is the fix: always shake dry and let it air out fully before putting it back in its display.
Browning leaf tips point to underwatering or air that’s too dry between soaks. Increase soak frequency slightly or add misting sessions, especially during winter with heating running — see winter houseplant care for how heated indoor air affects plants generally.
Curled, tightly closed leaves are a thirst signal, not a normal resting state. If a plant looks like this right after a soak, it may need more frequent watering going forward; if it looks like this between soaks, that’s expected and the next soak should relax it.
No growth or color change over many months usually just means light is too low. Move it closer to a bright window before assuming anything else is wrong.