How to Propagate Succulents From Leaves
Leaf propagation is one of the most satisfying ways to multiply a succulent collection — a single leaf, given the right conditions, can grow its own roots and a tiny new rosette without any soil disturbance to the parent plant. It doesn’t work for every succulent, though, so it’s worth knowing which types are good candidates before you start pulling leaves off.
Which succulents propagate well from leaves
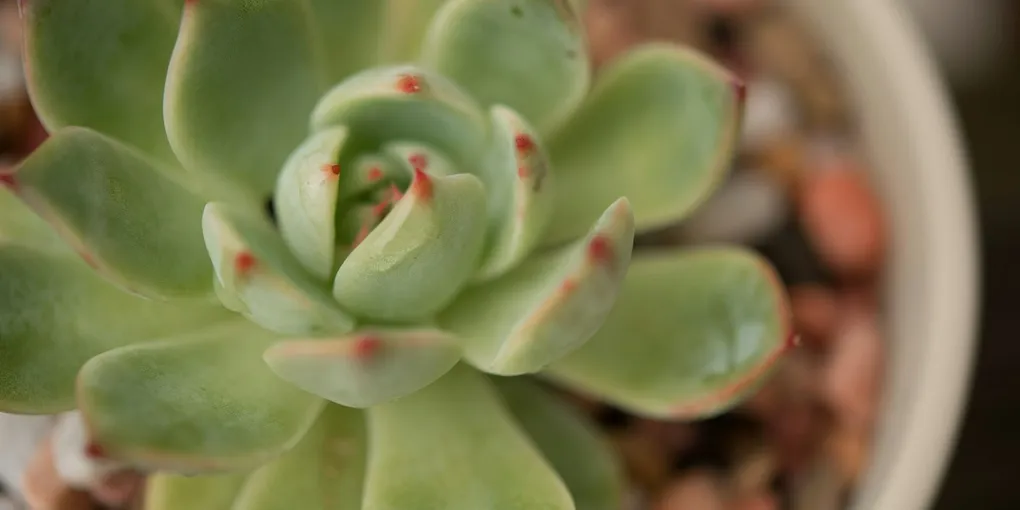
Rosette-forming succulents with thick, fleshy, individual leaves attached at a single point are the best candidates:
- Echeveria — the classic example, and usually the most reliable
- Haworthia-adjacent rosette succulents with similarly plump, individually attached leaves
- Sedum, including the jelly bean plant, which propagates readily from leaves that drop or twist off easily
These all share a growth habit where each leaf attaches directly to a central stem at a single point and can regenerate a full plant on its own — see our general guide to succulent care and the echeveria care guide for more on keeping the parent plant healthy in the meantime.
Which succulents do better from stem cuttings instead
Trailing succulents with small, densely packed leaves along a vine — String of Pearls, String of Hearts, String of Dolphins, and similar trailing types — generally don’t propagate well from individual leaves. Their leaves are small and don’t hold enough stored energy on their own to grow a new plant, and they root far more reliably from a length of stem instead. For these, follow the stem-cutting method in our guide to propagating houseplants from cuttings rather than the leaf method below.
Step-by-step leaf propagation
- Twist off a whole, healthy leaf. Hold it near the base where it meets the stem and gently wiggle it side to side until it releases. The goal is a clean break that takes the entire leaf, including the small point where it attached to the stem.
- Let it callus for one to two days. Set the leaf somewhere out of direct sun with good airflow and leave it alone. The wound at the base needs to dry out and seal before it touches soil, or it’s prone to rot.
- Lay the leaf on top of dry succulent soil. Don’t bury it or stand it upright — just rest it on the surface of a well-draining succulent or cactus mix, with the calloused end lightly touching the soil.
- Mist lightly. A light misting every few days is enough to signal the leaf to start growing; the soil underneath should stay barely damp, not wet.
- Wait. Over the next few weeks, small pink or white roots will emerge from the calloused end, followed eventually by a tiny new rosette forming right at the base of the original leaf.
- Let the original leaf shrivel and detach on its own. It’s feeding the new rosette as it grows — don’t remove it early, even once it starts looking wrinkled and spent.
- Pot up the new rosette in its own small pot once it has a handful of roots and looks stable, using the same well-draining soil.
Common mistakes
- Removing the leaf incompletely. If any part of the leaf’s base stays attached to the stem, the removed piece usually can’t grow roots or a new rosette — it just dries out. Take the whole leaf, including the base, in one clean motion.
- Overwatering while waiting. It’s tempting to water more to speed things along, but consistently wet soil rots the leaf before it has a chance to root. A light mist every few days is plenty.
- Burying the leaf instead of laying it flat. Covering it with soil traps moisture against the leaf and encourages rot rather than rooting. It needs to sit on top of the soil, exposed to air, with just the base making contact.
Leaf propagation is slow and not every leaf succeeds — expect some to shrivel without rooting, which is normal. Starting with more leaves than you think you need is the easiest way to guarantee a few successful new plants.