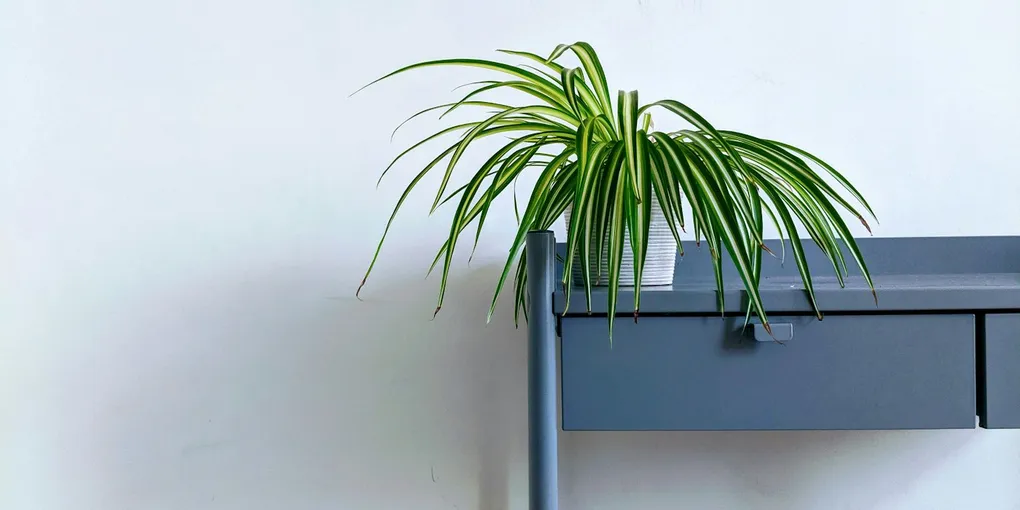
How to Care for a Spider Plant
Spider plants (Chlorophytum comosum) have been a beginner staple for generations, and for good reason. They grow fast, tolerate a wide range of conditions, and reward you with long stems covered in baby plantlets — often called “pups” — that you can turn into new plants with almost no effort. Few houseplants are this easy to keep alive and this easy to multiply at the same time.
Light
Bright, indirect light is what gets you the strongest variegation — the crisp white or cream striping along the leaves. Spider plants will also tolerate medium or even fairly low light, but growth slows down and you’ll see noticeably fewer pups when light is limited. What you want to avoid is direct, hot sun, especially through an unfiltered south- or west-facing window — it scorches the leaf tips and leaves them looking crispy and burnt rather than lush.
Watering
Let the top 1-2 inches of soil dry out between waterings. The bigger issue for spider plants isn’t how often you water but what you water with. They’re notably sensitive to the fluoride, chlorine, and dissolved salts found in most tap water, and that sensitivity shows up as brown, crispy tips on otherwise healthy leaves — it’s the plant’s most distinctive care quirk and the detail that trips up more people than underwatering does. Using filtered or distilled water helps, or you can simply let a container of tap water sit out uncovered overnight so some of the chlorine dissipates before you use it. For a broader method on judging soil moisture by feel, see watering houseplants the right way.
Soil and pot
A standard, well-draining potting mix is all a spider plant needs — nothing specialized required. Pot it in a container with a drainage hole, and don’t rush to size up. Spider plants actually prefer being a little snug in their pot; being slightly pot-bound tends to trigger more flowering and more pups rather than fewer. If you’re deciding what size to move up to when repotting does become necessary, see how to choose the right pot size for houseplants.
Propagation
This is where spider plants really shine. The long, arching stems — technically called stolons — send out baby plantlets that are essentially clones of the parent, complete with their own tiny root nubs already forming at the base. You can root a pup in water or soil while it’s still attached to the stem, or snip it off first and root it on its own; either way works. Because the plantlets often arrive pre-equipped with roots, they’re even more forgiving than a typical stem cutting. For the general technique and timing, see how to propagate houseplants from cuttings.
Toxicity
Spider plants are non-toxic to cats and dogs, which makes them one of the safer choices if you share your home with curious pets. Cats in particular sometimes take an interest in the leaves — spider plants contain a compound chemically similar to the ones in catnip — but nibbling won’t cause any real harm beyond mild stomach upset from eating any houseplant. For more options along these lines, see pet-safe houseplants for cats and dogs.
Common problems
Brown leaf tips are the classic spider plant complaint, and they’re usually caused by fluoride, chlorine, or mineral salt buildup from tap water — occasionally by underwatering. Switching to filtered or rested water going forward helps, and flushing the soil thoroughly with plain water every couple of months clears out salt that’s already accumulated.
Pale, washed-out leaves mean the plant is getting too much direct sun. Move it a few feet back from the window or behind a sheer curtain and the new growth should come in with normal color and contrast again.
Few or no plantlets usually means the plant needs more light, or hasn’t matured enough yet. Spider plants tend to hold off on producing pups until they’re a bit rootbound and reasonably mature — a young plant in a large pot may simply need more time and a snugger container before it starts sending out stems.