Why Are My Orchid Roots Turning Brown and Mushy?
Orchid roots are meant to be visible — most orchids are grown in clear pots or chunky bark mix specifically so you can check on them, and root color is one of the most reliable health indicators the plant gives you. So it’s worth knowing what healthy looks like before you can spot what’s wrong.
What healthy orchid roots look like
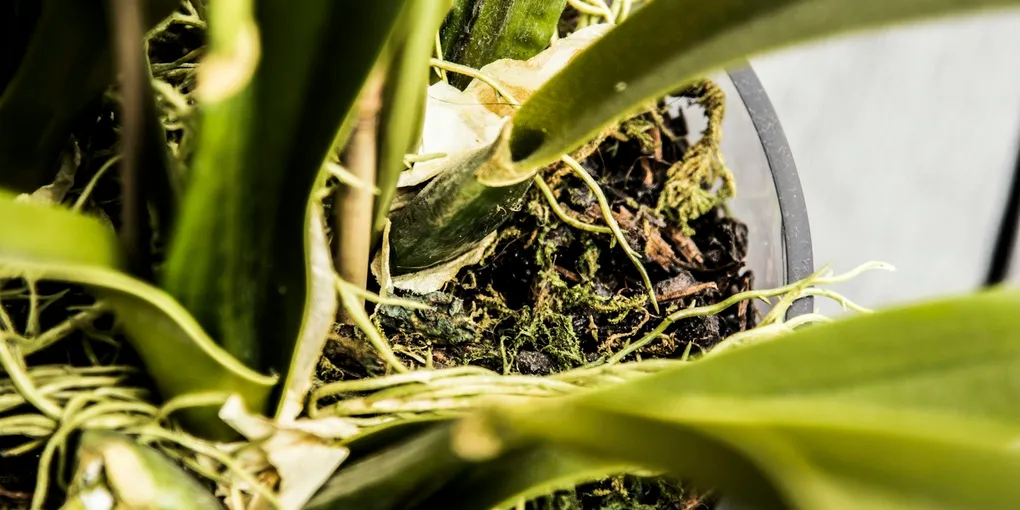
Healthy Phalaenopsis roots are plump and firm, with a silvery-white or grayish color when dry and a bright green color when wet, right after watering. That color change is normal — it’s the moisture-absorbing outer layer, called velamen, showing the green root tissue underneath when it’s saturated. Root tips are often green as well, sometimes with a slightly different shade at the very tip where active growth is happening.
What’s not normal: roots that are brown or black, feel soft or hollow when you squeeze them gently, or come apart in your fingers rather than staying intact. That combination — brown color plus mushy texture — is the sign of rot, not just an old or aging root.
Overwatering in mix that isn’t draining fast enough
This is the most common cause by far. Orchid roots need air between waterings almost as much as they need water — in the wild, most orchids grow as epiphytes with roots exposed to open air, not buried in soil. When bark mix stays wet for too long, whether from watering too often or from a pot without enough drainage, the roots can’t get the oxygen they need and begin to rot. Rot typically starts with the roots closest to the base of the plant and spreads outward if watering habits don’t change.
Fix: let the mix approach dryness between waterings rather than keeping it consistently damp — lift the pot to judge weight, or check root color through a clear pot, since silvery-white roots mean it’s time to water and green roots mean it isn’t yet. Make sure the pot has real drainage; orchids should never sit in standing water. Our Phalaenopsis orchid care guide and overwatering vs. underwatering both go into watering frequency in more detail.
Old, broken-down potting mix
Bark-based orchid mix decomposes over time — it doesn’t last indefinitely the way a mineral potting mix does. As bark breaks down, it holds more moisture and drains more slowly, which can quietly turn a mix that used to dry out fine into one that stays wet for days, even with no change in your watering habits. This is a common, sneaky cause of rot in orchids that haven’t been repotted in a few years.
Fix: repot into fresh bark mix roughly every one to two years, even if the plant looks otherwise healthy. If you’re not sure how old the current mix is, check its texture — mix that’s gone soft, dark, and dense rather than chunky and springy is overdue for a change.
Poor airflow around the roots
Roots packed into a mix that’s too dense, or a pot with no ventilation, don’t get enough air circulation to dry out evenly between waterings, even if you’re not overwatering by the calendar. This is especially common with plastic pots that have only a few small drainage holes, or orchids potted in mix that’s compacted down rather than loose and chunky.
Fix: use a pot designed for orchids — plastic pots with slits or extra holes in the sides, or clear pots that also let light reach the roots — and use a coarse, chunky bark mix rather than a fine, dense one. Both changes let air move through the root zone between waterings.
Fungal or bacterial infection
Occasionally, root rot is driven less by moisture alone and more by an active fungal or bacterial infection, which can spread faster than simple overwatering rot and sometimes carries a sour or unpleasant smell. This is more likely if rot appeared suddenly and aggressively, or if a neighboring plant has had similar issues.
Fix: remove the plant from its pot, trim away all mushy or discolored roots with sterilized scissors, and repot into fresh mix in a clean pot. A cinnamon or fungicide dusting on the cut ends can help prevent reinfection. For a full walkthrough of assessing and treating root damage, see our guide on identifying and fixing root rot; the same principles apply whether you’re growing Phalaenopsis or other types, like the dendrobium orchid.
After you’ve trimmed the rot
Once the dead roots are removed, the plant will rely on whatever healthy roots remain, so don’t be surprised if it needs a period of stability — consistent light, careful watering, no fertilizer for a few weeks — to recover and start pushing new roots. A plant with even a few healthy roots left can usually bounce back; one with none at all is a much harder case, but not always hopeless if the leaves and crown are still firm.