How to Clean and Sterilize Pots Before Reusing Them
Reusing a pot is an easy habit to get into, but a pot that isn’t actually clean can pass along whatever problem the last plant had — even if it looks empty and harmless sitting on a shelf. Old soil residue, pathogens, and pest eggs can all cling to the surface, and a rinse under the tap usually isn’t enough to get rid of them.
Why it matters
A pot that previously held a plant with root rot, a fungal disease, or a heavy pest infestation can still harbor the pathogen, spores, or eggs responsible even after the old soil is dumped out and the pot looks empty. Put a new plant straight into that pot and you can end up fighting the same problem again within weeks, with no obvious explanation since the new plant “started clean.” Mineral and fertilizer salt buildup left behind from the previous plant’s watering routine can also affect a new plant’s roots, even without any disease involved.
When it’s worth the extra step
Sterilizing matters most after a pot held a plant that died from root rot, a fungal issue, or a serious pest infestation — in these cases, skipping sterilization risks carrying the exact same problem into whatever you plant next. It’s much lower-stakes for a pot that just held a healthy plant you repotted up a size — a basic scrub-and-rinse is usually plenty in that case, since there’s no pathogen or pest problem to actually kill.
Clean out the physical debris first
Before any sterilizing, get the pot physically clean. Dump out all the old soil, and scrub the inside and rim with a stiff brush and warm, soapy water to remove root fragments, dirt residue, and any visible grime or algae film. This step matters even if you’re going to sterilize afterward — organic debris left on the surface can shield pathogens from the sterilizing solution and stop it from actually reaching them.
How to sterilize
A diluted bleach solution is the most reliable method for killing off fungal spores, bacteria, and pest eggs. Mix roughly 1 part household bleach to 9 parts water, and soak the pot fully submerged for 10-30 minutes. Rinse thoroughly with plain water afterward — bleach residue left on the pot can burn roots just as easily as it kills pathogens, so don’t skip the rinse.
A hydrogen peroxide solution works as a bleach-free alternative if you’d rather avoid bleach around your home. It’s slightly less aggressive but still effective for routine sterilizing between plants, and doesn’t require quite as thorough a rinse afterward.
Terracotta needs a bit more effort
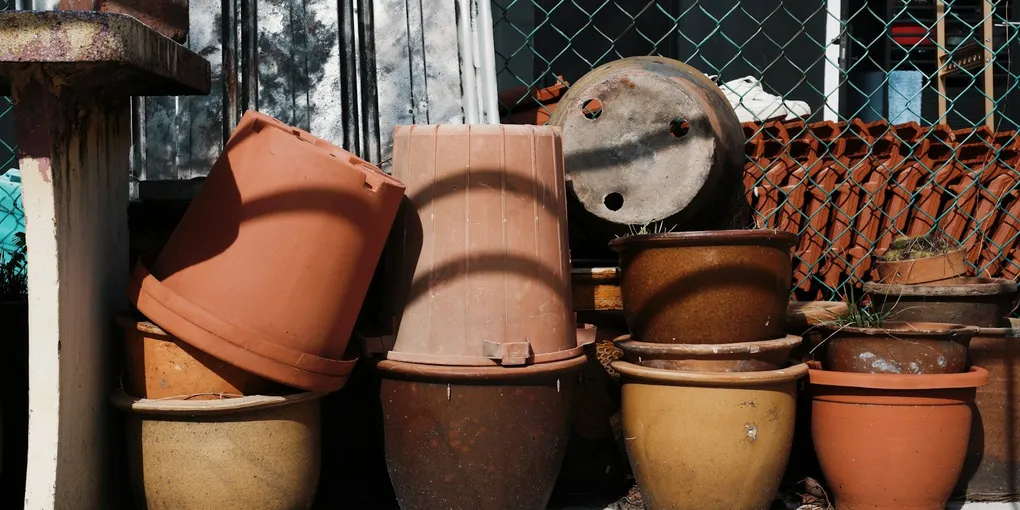
Terracotta is porous, which is great for airflow to the roots but also means it soaks up mineral salts and pathogens more stubbornly than plastic or glazed ceramic. A pot with a visible white, chalky crust on the surface has mineral buildup worked into the clay itself — a plain soak in vinegar and water beforehand helps dissolve that crust before you move on to sterilizing, since the sterilizing solution works best on a surface that’s not still coated in mineral deposits. Plastic and glazed ceramic pots are non-porous and generally get fully clean with the scrub-and-soak method alone.
Let it dry completely
Once a pot is scrubbed, sterilized, and rinsed, let it air dry completely before adding fresh soil and a new plant. A pot that’s still damp when you pot up into it dilutes whatever protective effect the sterilizing gave you, and damp conditions right from the start are exactly what fungus gnats and fungal issues favor. A fully dry pot with fresh, uncontaminated soil gives a new plant the clean start reusing a pot is supposed to save you the trouble of buying new for.