How to Use a Pebble Tray for Humidity
A pebble tray is one of the most commonly recommended fixes for dry-air houseplants, and it does work — just not in the way a lot of people expect. It’s worth understanding what it actually does before you build one, so you’re not disappointed when it doesn’t turn your living room into a greenhouse.
What a pebble tray actually does
A pebble tray raises humidity through evaporation, and that effect is concentrated in a small pocket of air right around the plant’s leaves — not the room as a whole. Water evaporating off the surface of the tray creates a slightly more humid microclimate immediately surrounding the pot, and that’s genuinely useful for a plant sitting directly above it. But the moment that humid air drifts a foot or two away, normal air circulation in your home disperses it, and a household humidity gauge across the room won’t register any difference at all.
This is the same honest caveat that applies to misting houseplants: both approaches produce a real but small and short-lived bump in humidity right at the leaf surface, not a lasting change to the room. If you’re picturing a pebble tray solving humidity for an entire space, it won’t — but if you’re trying to give one humidity-loving plant a slightly better microclimate, it’s a legitimate, low-effort tool.
It works best combined with grouping plants
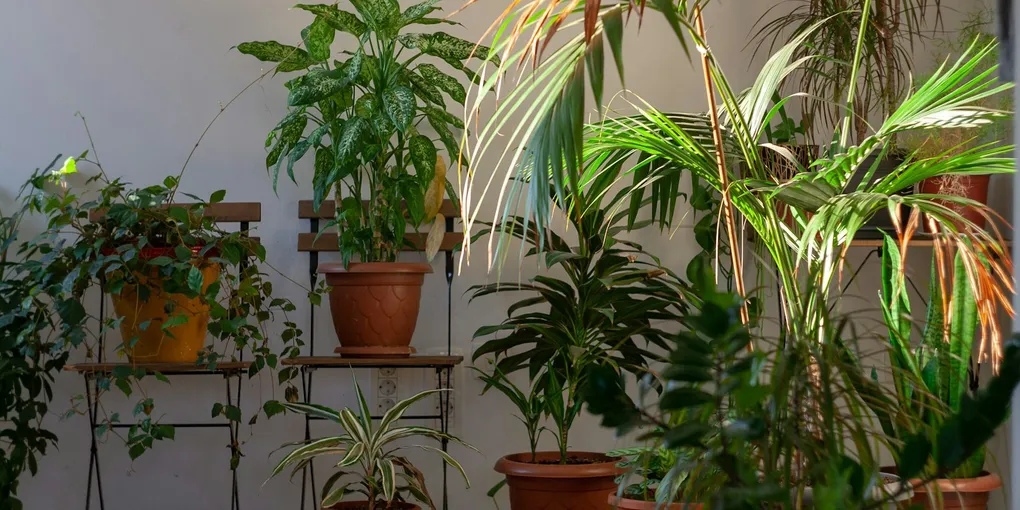
Pebble trays are noticeably more effective when several plants sit close together rather than one plant alone. Grouped plants each add a small amount of humidity through evaporation and transpiration, and clustering them traps that shared moisture between them instead of letting it disperse in every direction. A single pebble tray under a cluster of humidity-loving plants does more collective good than the same tray under one plant in isolation.
How to build one
- Pick a shallow, wide tray or saucer — wider than the pot itself, so there’s room for pebbles and water to extend past the plant’s base.
- Add a layer of pebbles or gravel deep enough to raise the pot well above where the water line will sit — an inch or two is usually enough.
- Add water to just below the top of the pebbles. The water line should never reach the bottom of the pot.
- Set the pot on top of the pebbles, not directly in the tray. This is the part people get wrong most often: the pot sits on the pebbles, above the water, never in it. Roots sitting in standing water for any length of time will rot, which defeats the entire point of the setup.
Maintenance
A pebble tray needs occasional upkeep to stay useful and problem-free:
- Top off the water as it evaporates — check every few days, since a dry tray does nothing.
- Watch for algae. Standing water in a warm, bright spot grows algae over time, showing up as a green film on the pebbles and tray. Empty and rinse the tray with a scrub every few weeks to keep it in check, and consider using distilled or filtered water if algae is a recurring problem, since tap water minerals can also build up as a white crust on the pebbles.
Set your expectations accordingly
A pebble tray is a small, targeted tool, not a humidity system. For a meaningful, sustained increase across a whole room — the kind that actually matters for genuinely humidity-demanding plants — you’ll want other methods layered in alongside it, from grouping plants to a humidifier. Our full guide to increasing humidity for houseplants covers the complete range of options and which actually move the needle. Use a pebble tray for what it’s good at: a cheap, low-maintenance boost right where a plant needs it most.